This article explains how to create, review and publish a blog post from your Admin Dashboard.
Create a blog post
- In the Admin Dashboard, click Blog in the left-hand sidebar menu.
- Click New Blog Post
- Enter information such as a title, content, and an image.
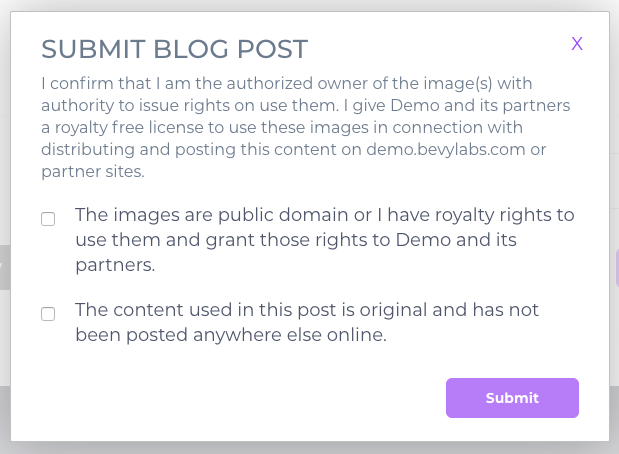
- Click Save as Draft to preview or click Submit to publish.
After you submit the blog post it displays on the Pending tab. It needs to be reviewed by a blog editor before it is published.
Review and Publish a Blog Post
- In the Admin Dashboard, click Blog in the left-hand sidebar menu.
- On the Pending tab, select the blog post to review.
- Click Edit Post.
This opens the review process. - Make any edits, and then click Approve.
- Select the date and time you want the blog to go live.
There is also an option to feature the blog on the homepage. - Click Submit.