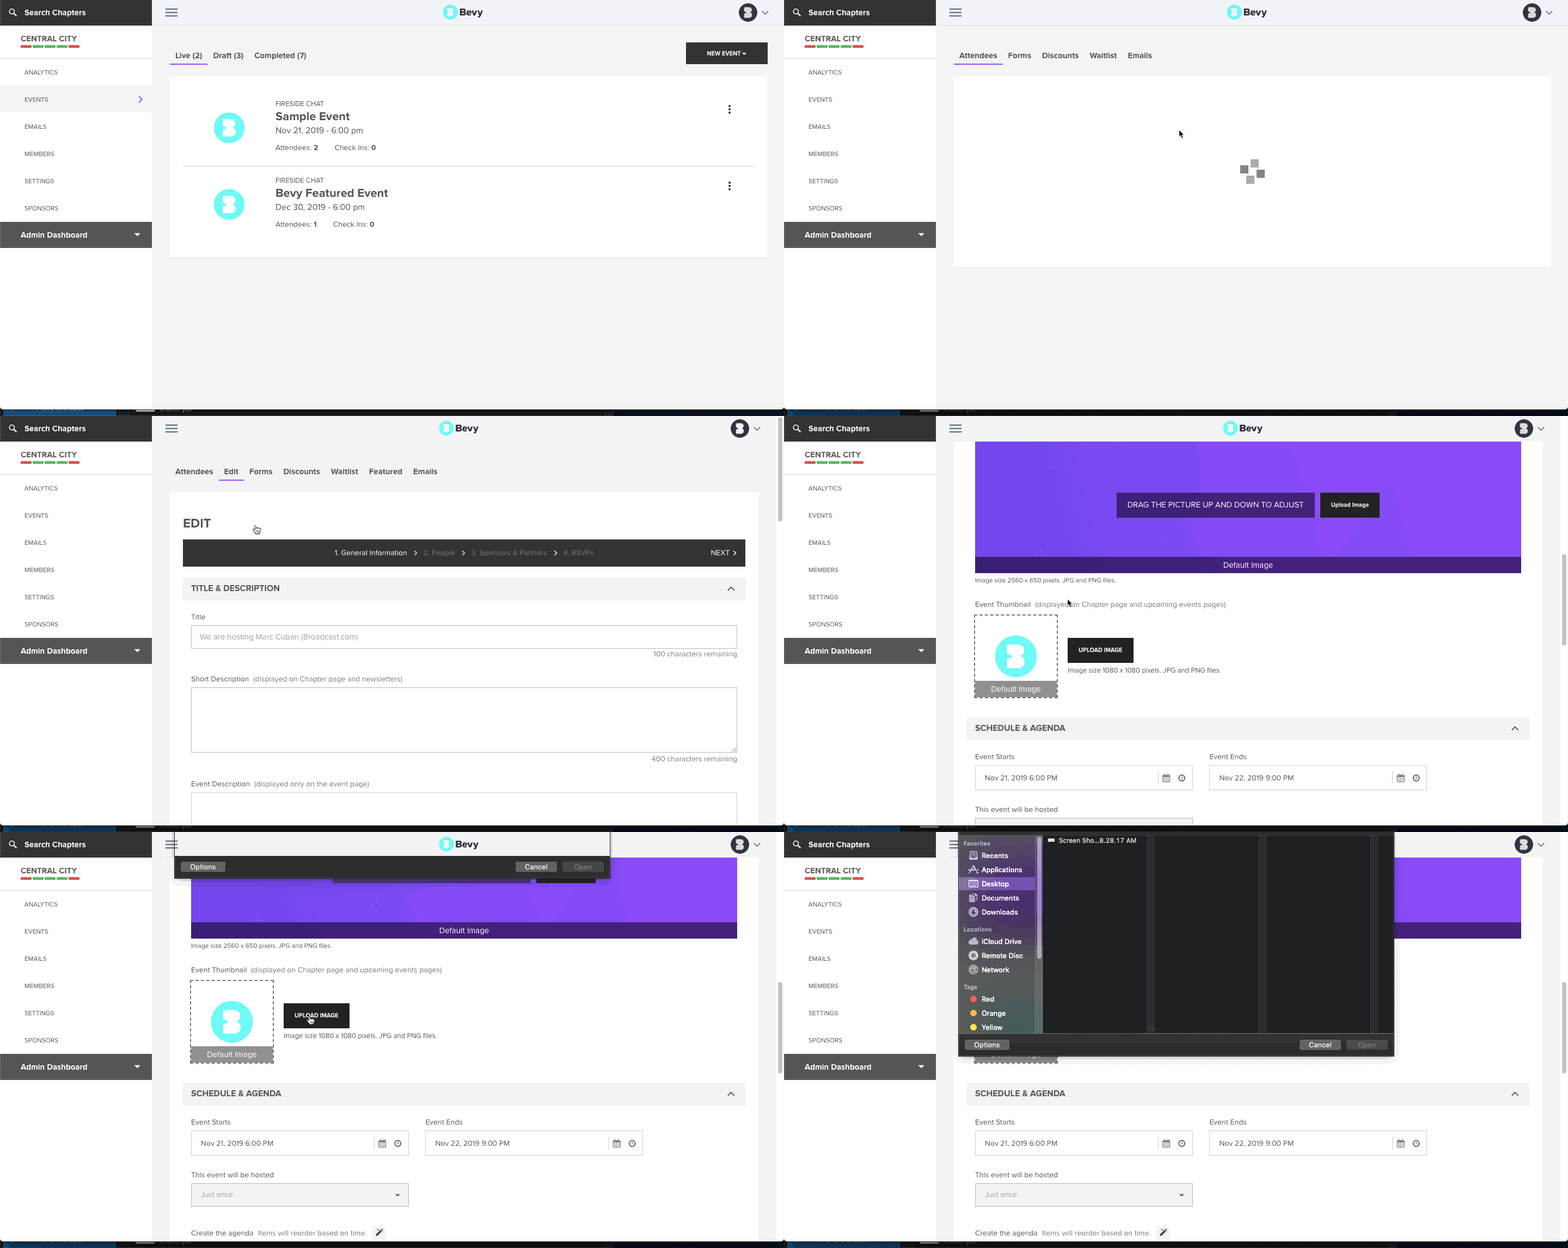
This article gives guidance on optimizing your chapter and event thumbnails for sharing on social media. It also outlines how to upload these images.
Prepare your images
Chapter and event thumbnails are used when sharing events and chapters on social media.
- Thumbnail image sizes are 1080 x 1080 px.
- Ensure the main content you want to display is within a height of 560px.
As guidance, here's an example using the Bevy logo. The left image has the logo well proportioned within the square but it needs to be a little smaller (height 560px) so it doesn’t look cut on Facebook and Linkedin.
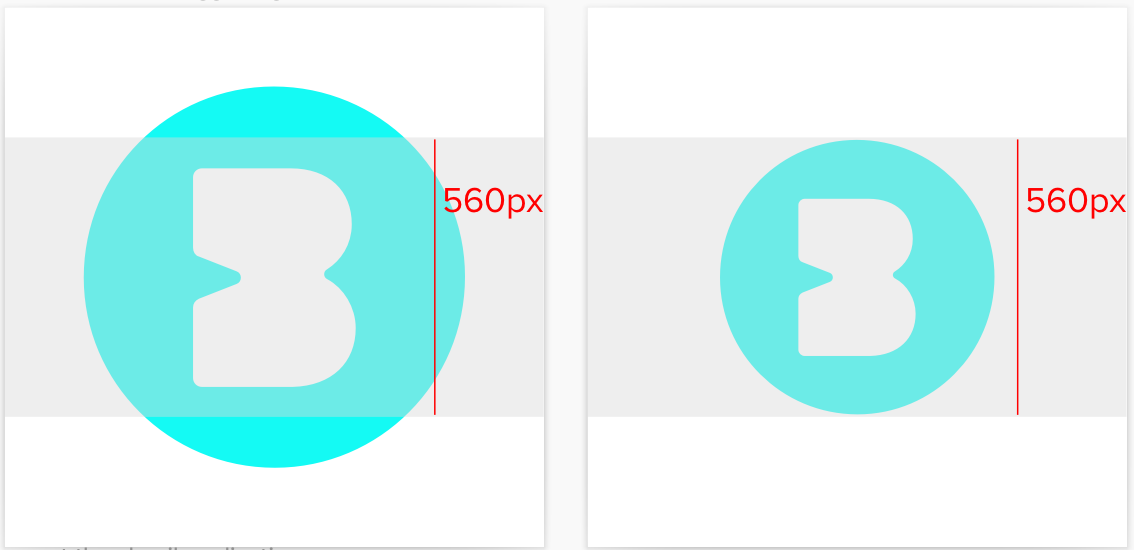

Here's another example showing the main content adjusted to show correctly on social media:
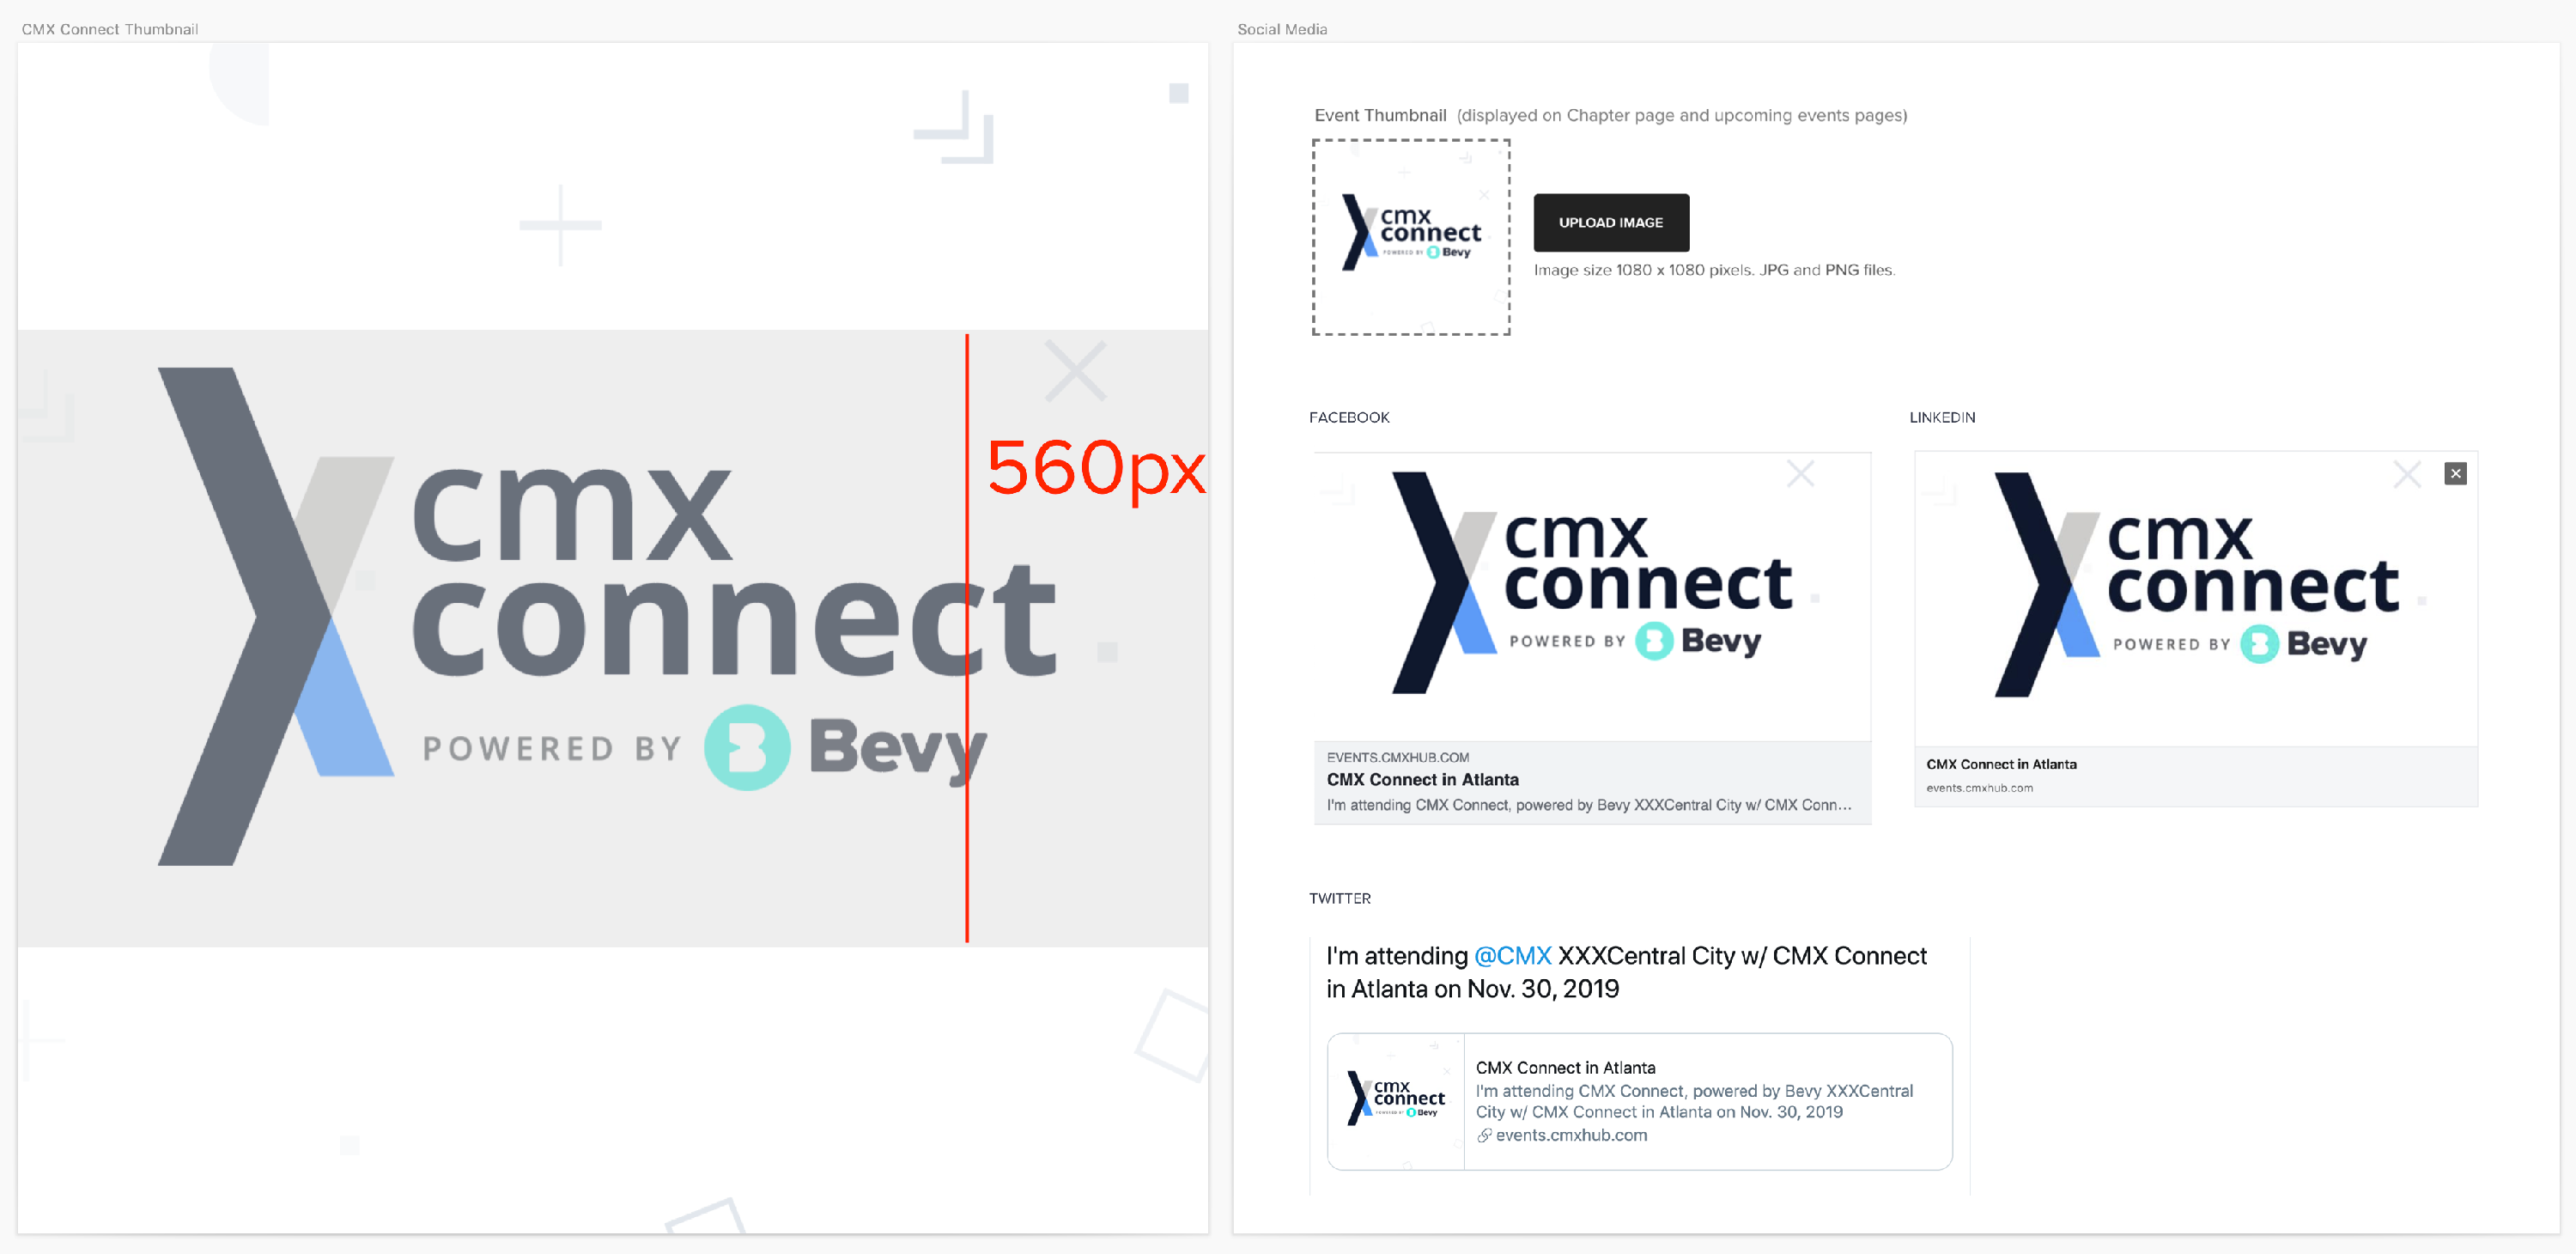
Upload chapter logo thumbnail
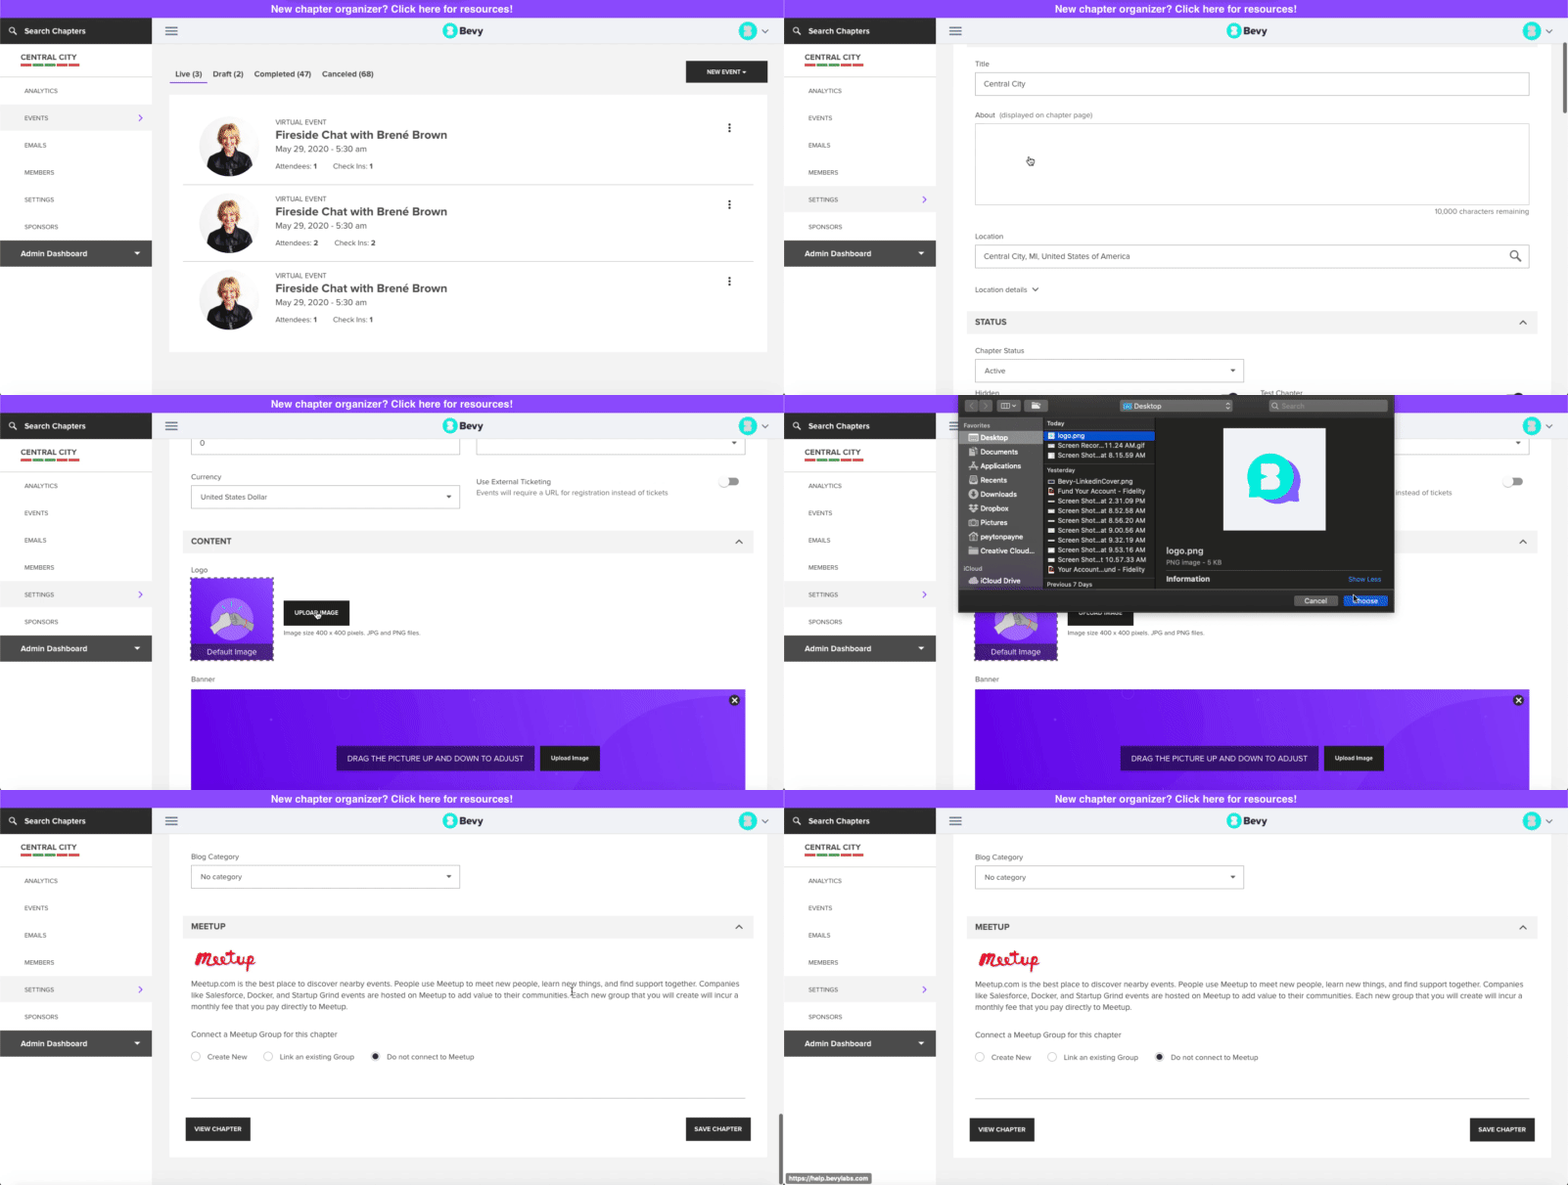
- Click Settings from the left sidebar in Chapter Dashboard.
- At the bottom of the General settings tab, under the Content section, click upload image.
- Select the image you want to use.
- After you’ve selected the right image, scroll to the bottom of the page and click Save.
Upload event type default thumbnail
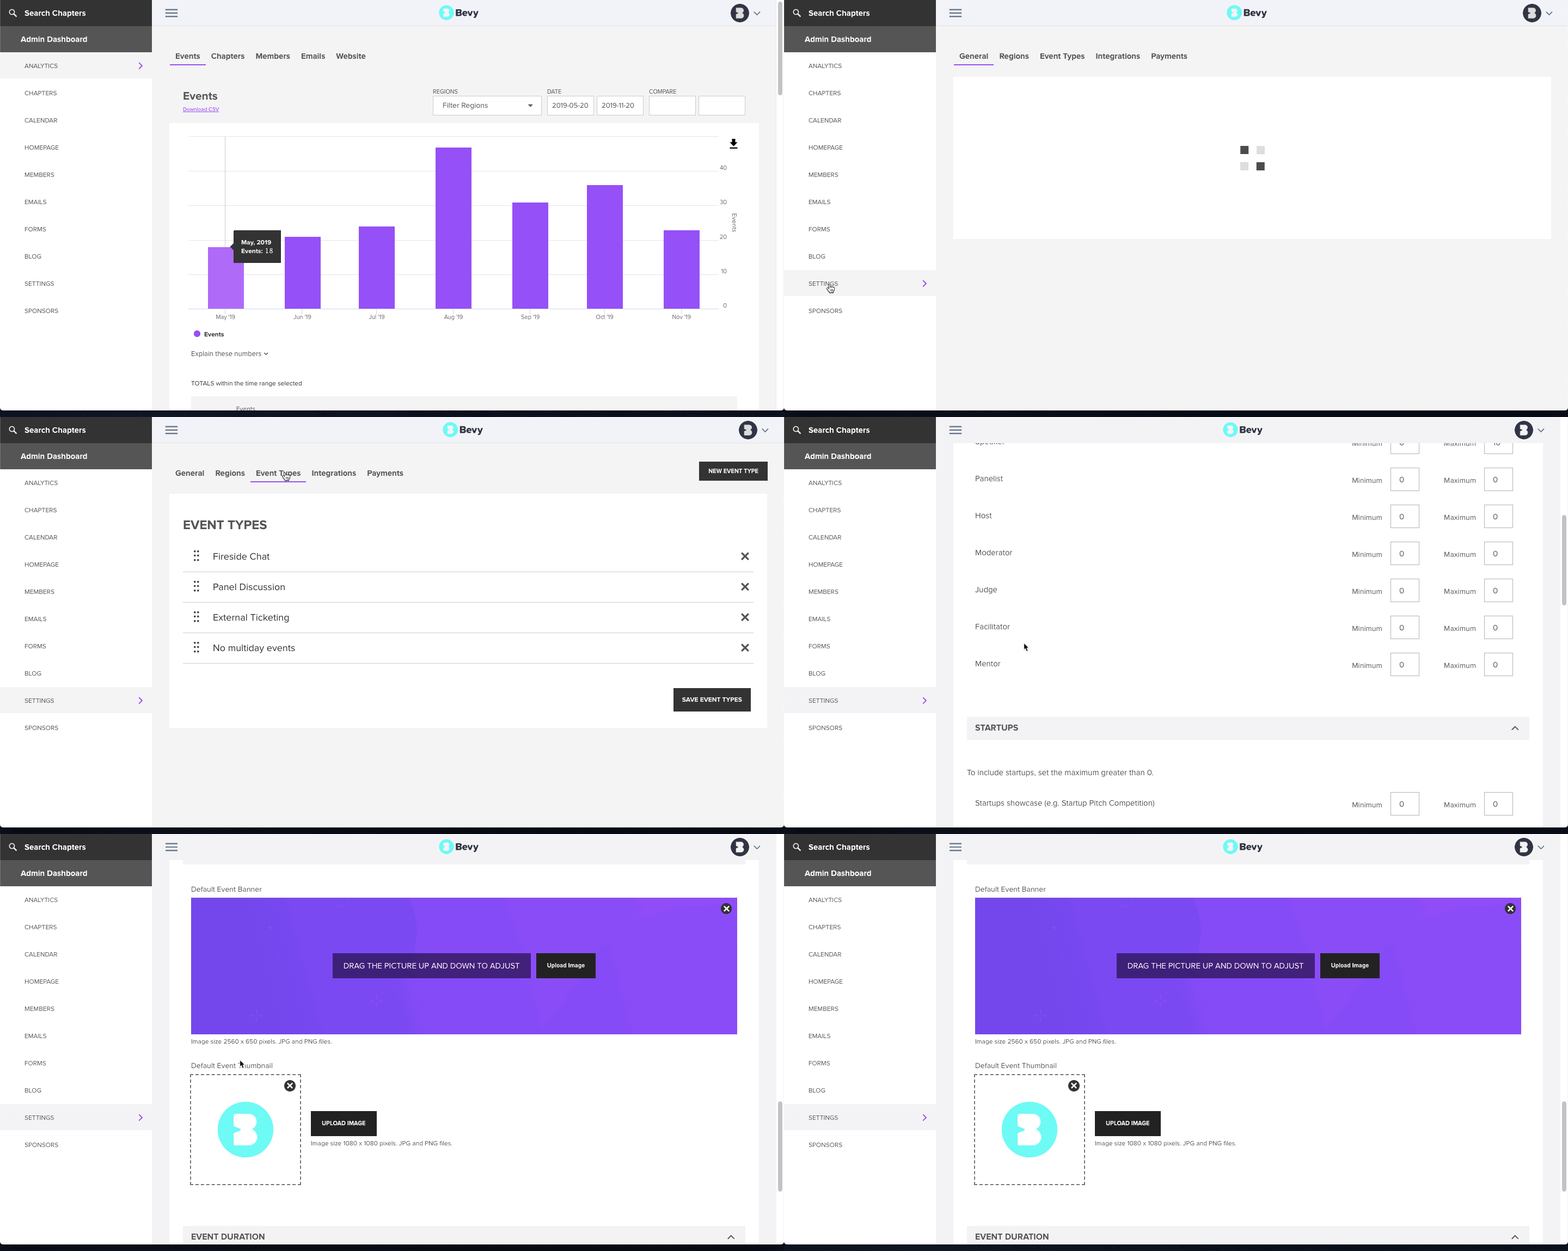
- Click Settings from the left sidebar in Admin Dashboard.
- Click the Event Types tab.
- You can either choose to create a new Event Type by clicking the New Event Type button or edit an existing Event Type by clicking on it from the list.
- Scroll to the Default Image section where you will see the default event thumbnail.
- Click Upload Image to upload a thumbnail image that will be used for this event type.
Customize a thumbnail per event
If you need to customize the thumbnail for an event, you can do so during event creation or by editing an event. Both options appear in the General Information tab of the event creation flow.
